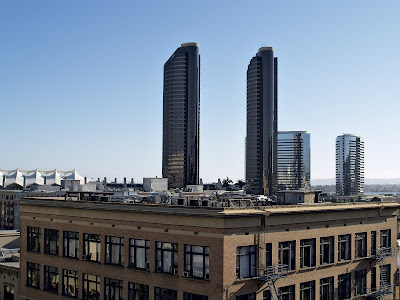

Something that I have wanted to get to when it comes to sharpening photos within Adobe Photoshop is something called two-pass sharpening.
I am actually going to go against all of my normal behavior and try to keep this simple and instructional. I'm sucking right now, I know.
Here it goes.
For this technique, it works best on photos that are NOT of people. You can try it for some sort of stylized look, but I would avoid sharpening people's faces with this technique.
What also helps is that it's a high-resolution photograph. When I say this, I am talking lots of pixels, straight-down-loaded-from-the-camera resolution. It also is best to have a photo with a lot of detail.
This is what you do:
1) Open the photo in Photoshop.
2) Click on Image on the menu bar and go to the submenu Modes. Here you will do something most people do not do: Select Lab Color mode. Nothing will change except your Channels window.
3) Next, you are going to view the Channel window.
4) In Lab, the channels are Lab, Lightness, a, and b
5) Select the Lightness Channel: your photograph should go grayscale.
6) Now, you are going to hold down your Ctrl button and move your mouse over the small icon of your photograph (within the Lightness channel). A small square should appear within the pointing finger of your mouse. Click the icon. You should suddenly see the marching ants of selection paths all over your photograph; especially where there is small detail.
7) Next, go to your Select menu and click on inverse. You should notice a slight change.
8) This next part is just by your preference. You can hold down Ctrl and press H to hide your selection. It's still there, just hidden. Some people may find this to be a bit disconcerting.
9) Next, click where the eyeball is supposed to go in the Lab channel. Don't select the Lab channel, just press on where the eyeball is supposed to go. This way you get a color image.
10) Now the fun part: Go to Filter, Sharpen and click on Unsharp Mask. Enter in these values: Amount: 500. Radius: 1.0. Threshold: 1. I know…insane values, especially where the 500 is concerned, but it works! Press OK and notice the change.
11) Do Not deselect just yet. Now the next sharpening pass. Open up the Unsharp Mask dialogue box again. Enter in these values: Amount: 50. Radius: 80. Threshold: 1. With these values, I like to play with the radius and get it just right. The Amount, I like to keep between 50 and 60 percent. Press Ok.
12) If you wish, go to your History window and click on your original opened file and see the difference. It is very dramatic and much clearer.
13) To save your Photo as a JPG, don't forget to change your Mode back to RGB.
It should be known that it was Scott Kelby who taught me this technique at one of his seminars.
Now, once I figure it out, I will post a before and after to show you the difference.
Thanks for Reading!
Daniel
It should be known that it was Scott Kelby who taught me this technique at one of his seminars.
Now, once I figure it out, I will post a before and after to show you the difference.
Thanks for Reading!
Daniel

No comments:
Post a Comment